AI tools can look like a cockpit full of switches. You only need a few of them, and you don't need any technical skills. If you can describe what you want in a sentence, you can make it.
You give the AI something (a description, a photo, or both), choose what you want back (an image, a video or a song), and it makes it in seconds on Sogni's network, not on your computer.
Your first AI image in 3 minutes
- 1Sign up
Open app.sogni.ai and create a free account. You get free credits.
- 2Open Text to Image
Click the Text to Image card on the home screen. Leave the settings as they are.
- 3Paste the prompt
Copy the prompt below into the prompt box.
- 4Click Imagine
Your images appear in seconds. Pick your favorite.
WhoA woman in an orange suitDoing whatwalking a giant goldfish on a leash,Whereblue wall behind her,Lightbright midday sun,Kind of picturefashion magazine photo
A woman in an orange suit walking a giant goldfish on a leash, blue wall behind her, bright midday sun, fashion magazine photo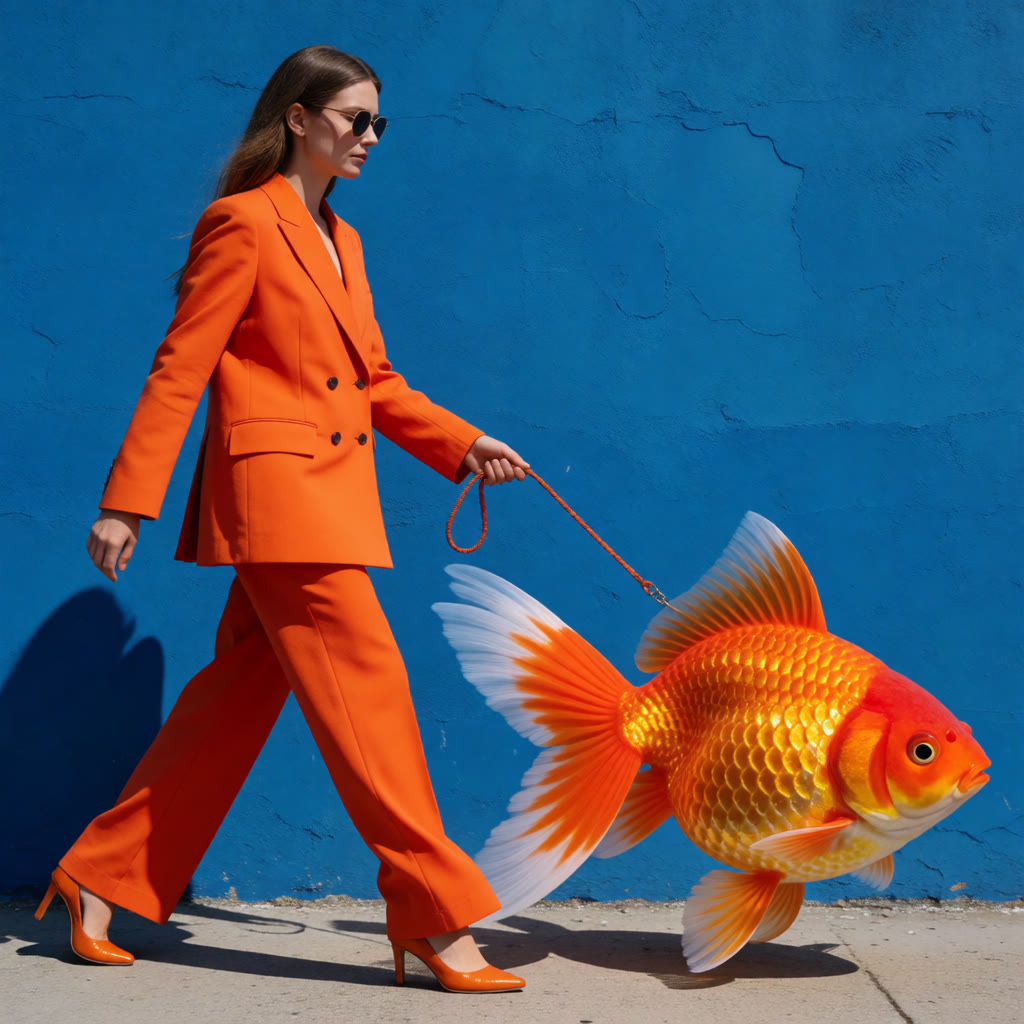
Swap any colored part for your own idea. Stuck? Sogni Vibe or the AI Assistant button above the prompt box writes a prompt for you.
Five words to know: prompt, model, seed, workflow, reference
You'll see these words in every AI app. The diagram shows how they fit together, and the list explains each one in plain English.
“A woman in an orange suit walking a giant goldfish on a leash…”
Krea 2 Turbo
Seed9101
- Prompt
- The description you type: what you want to see or hear. Write it like a brief for a photographer.
- Model
- The AI engine that turns your prompt into the result. Models are like different artists: one is fast, another is better at hands or text. Every tool starts with a good one selected.
- Seed
- A random number that sets the starting point. Same prompt, model and seed give the same picture again; a new seed gives a new take. That's why one prompt can give several different images.
- Workflow
- The type of job: what goes in and what comes out, like Text to Image or Image to Video. In the app, each workflow is one card on the home screen.
- Reference
- An image you upload for the AI to copy something from: a face, an outfit, a product or a place. It's how you keep the same person in every picture.
Which tool do I need?
Start from what you want to make. Find it in the left column, and the middle column tells you which tool to open. Each tool is one card on the Sogni home screen.
| I want to… | Open this tool | You give → you get |
|---|---|---|
| make a picture from an idea | Text to Image | a description → images |
| change something in a picture or photo | Image Editing | an image + an instruction → the same image, changed |
| put the same person (or myself) in a new scene | Image Editing with a reference imageA reference image is a photo you upload so the AI copies a face, outfit, product or place from it. | a photo of the person + a new scene → the same person, somewhere else |
| make a picture move | Image to Video | an image + what happens → a clip with sound |
| make a video with no starting image | Text to Video | a description → a clip with sound |
| make a song | Text to Music | a description of the song → a full track |
| make an image bigger and sharper | Upscale | an image → a bigger, sharper image |
The AI borrows a face, outfit or product from your photo and puts it into a brand-new scene. Your photo is a source of parts, not the picture itself. See skill 3.
Your photo becomes the first frame of a clip, and the AI makes it move: same scene, same framing, now in motion with sound. See skill 4.
Typical order: make the person with a reference image first, then animate that picture with Image to Video.
Not sure where to begin? Start with the first row. Text to Image is where almost everything starts, and the six skills below follow the same order.
6 skills every beginner needs to know
Whatever you want to make with AI (social posts, ads, art or a short film), it comes down to these six skills. Learn them in this order, because each one uses the result of the one before. Below we practice all six on one example, and the last one turns everything into the film at the top of this page. Click a skill to jump to it. We made the example images with GPT Image 2.5, a Premium model; every step works the same way on the default models.
Generate an image from text
What it is: the starting point for everything. Paste a prompt, choose how many images you want (1 to 16 at once) and click Imagine. Each image in a batch is a different take on the same idea, so you pick the best one.
Pick the best take. Here are two images from the same prompt with one click. The model, the prompt and the idea are the same, but the pose, the light and the fish are different. Keep the one you like and continue with it. We picked take 1.
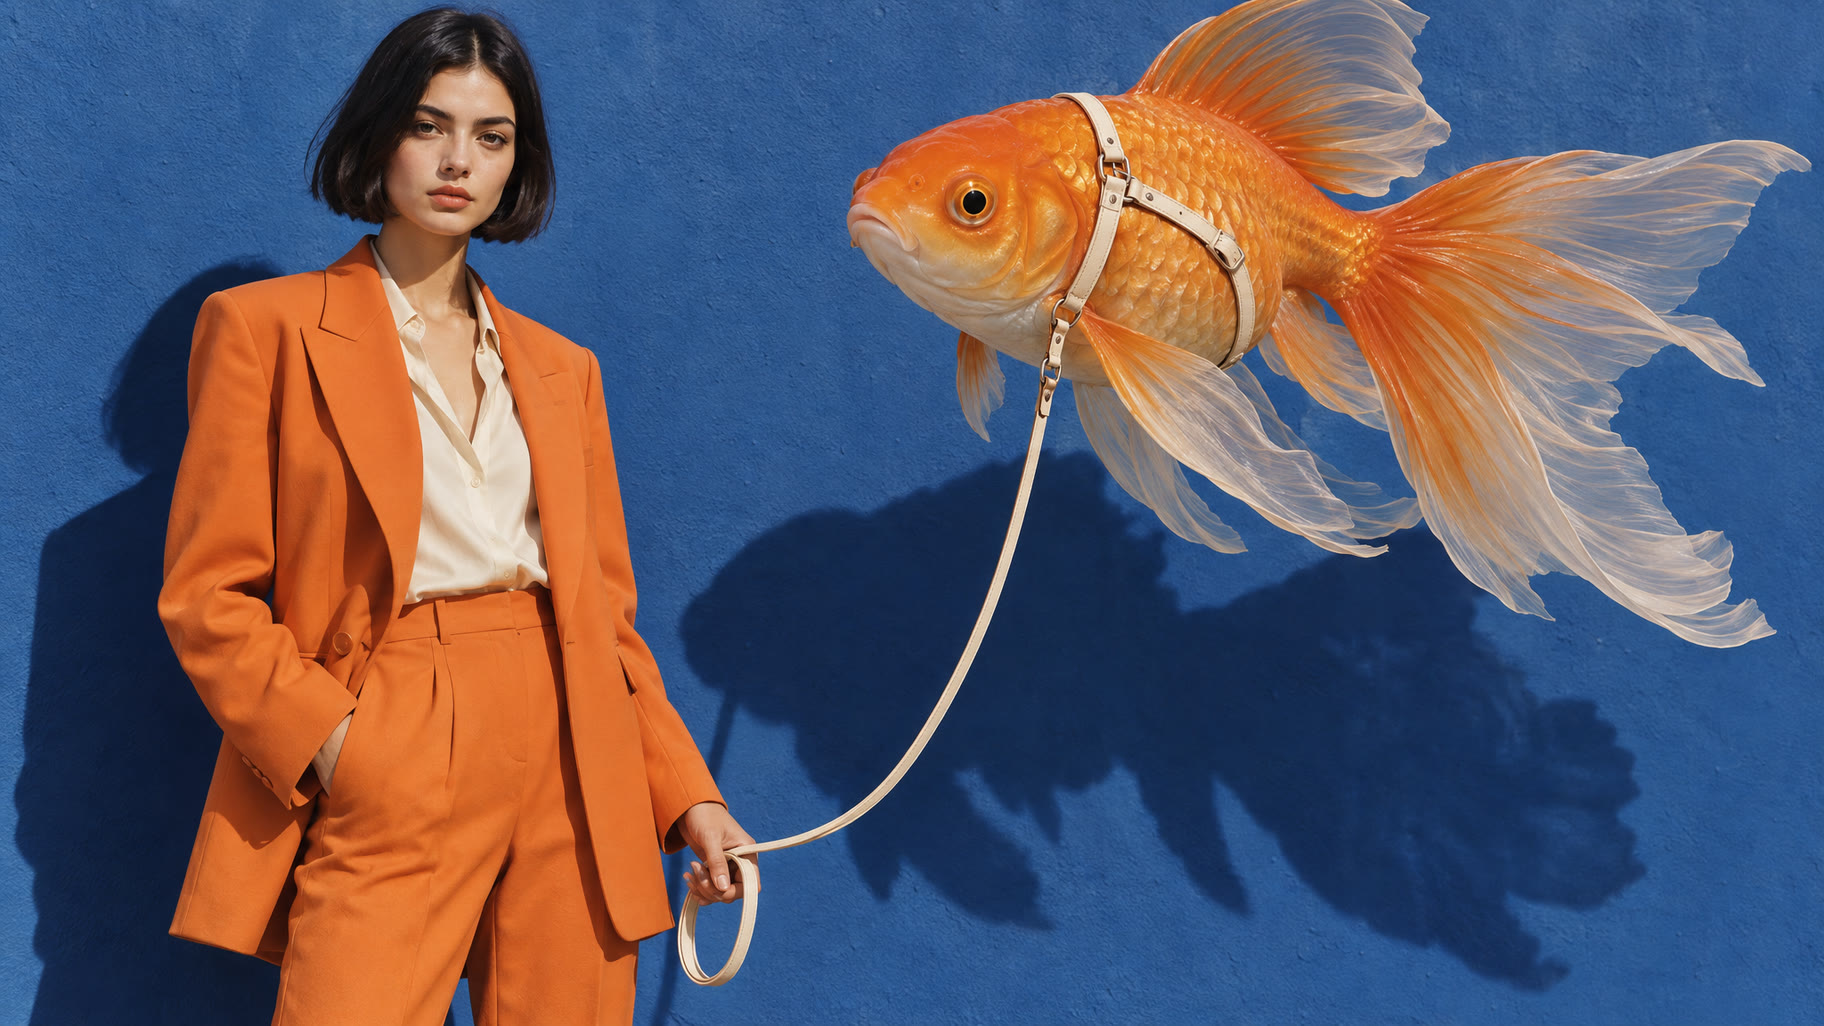 Take 1 · our pick
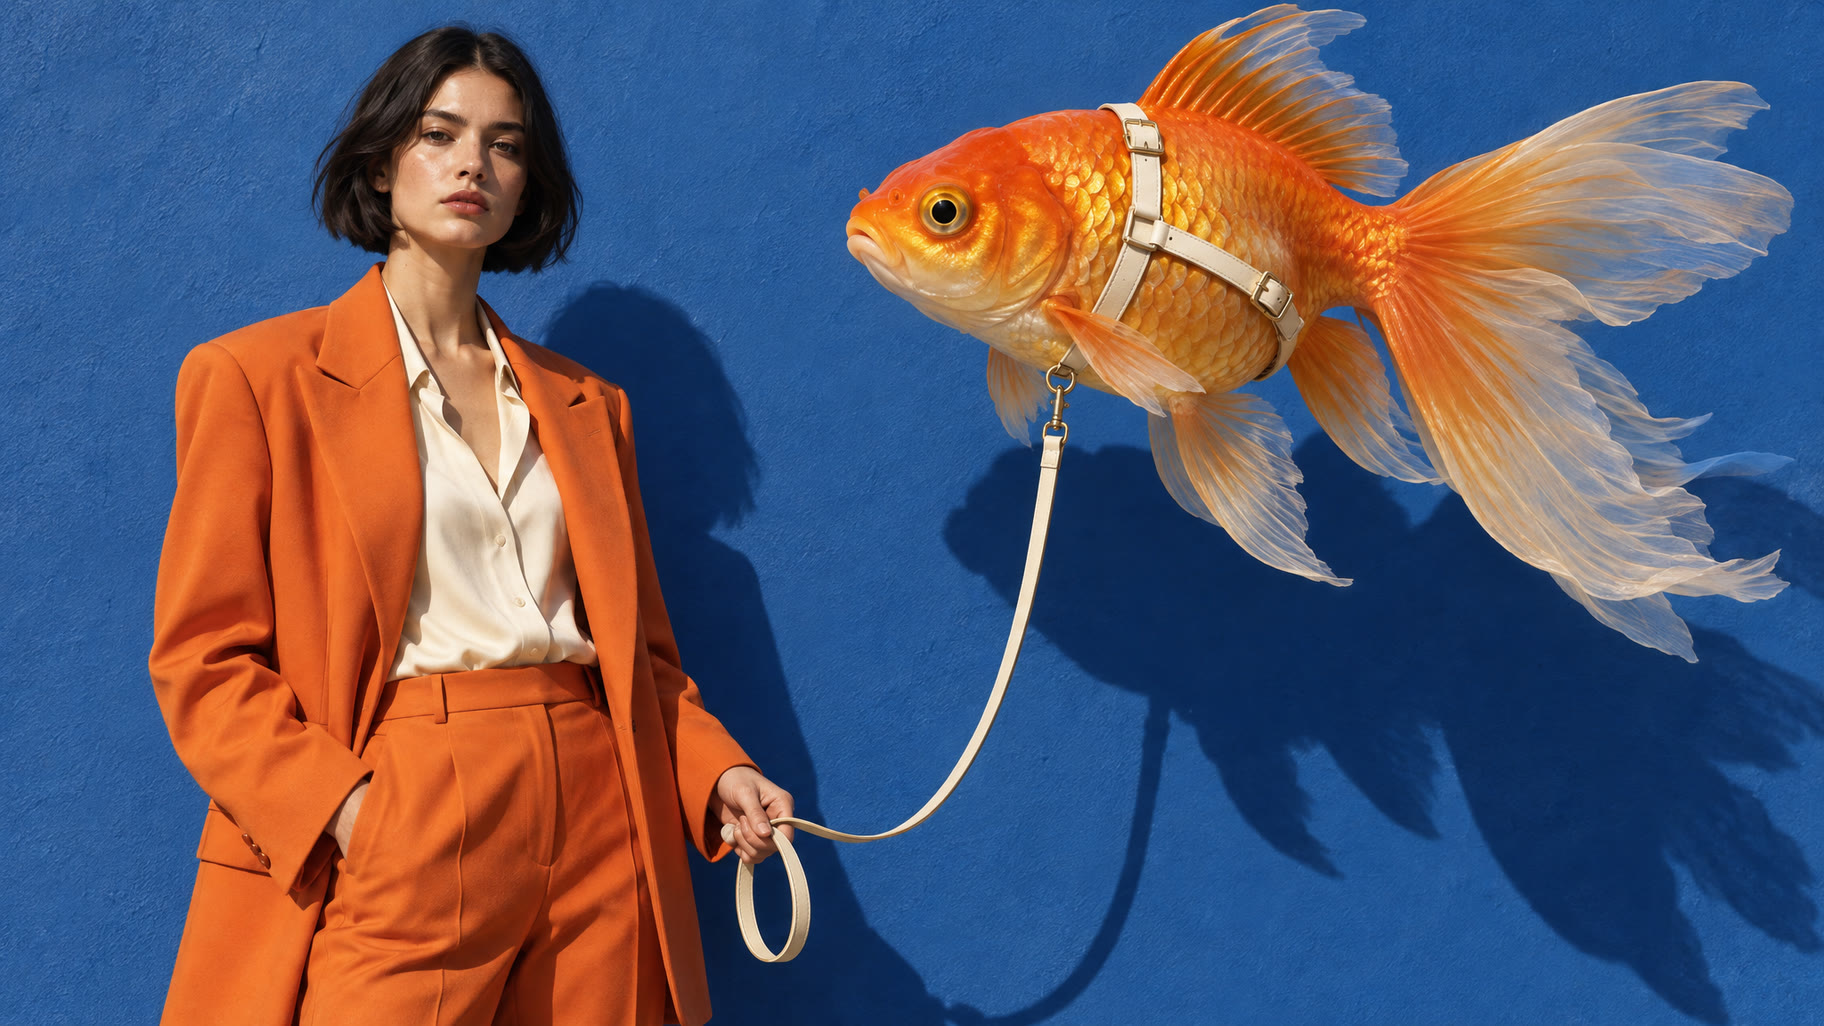 Take 2
Text to Image · GPT Image 2.5 · the full prompt, shown color-coded in How to write AI prompts
Check the details before you continue: hands, eyes and anything the person holds. If one small thing is wrong, fix it with Image Editing (skill 2) instead of starting over. Everything after this step copies this image, mistakes included.
Edit an image with words
What it is: upload any image (one you made or your own photo) and say what to change. The AI changes only that and keeps the rest. The trick: always say what should stay the same. Click through three edits of the same picture:
InstructionThe image from skill 1, before any edit.
Image Editing · GPT Image 2.5 · one instruction per edit
When to use it: fixing a detail, changing clothes or colors, swapping the background, changing the time of day or the style. Our photo editing guide compares the editors.
Keep the same person (or yourself) in every scene
What it is: a story needs more than one shot, and the person has to look the same in each. If you just describe her again, you'll get a different woman. Instead, give the AI the first image as a reference and describe only the new scene. The AI keeps her face, hair and clothes. We used GPT Image 2.5 here; Krea 2 Identity Edit does the same job and is covered by the Unlimited plan. It works with a photo of you, too.
Reference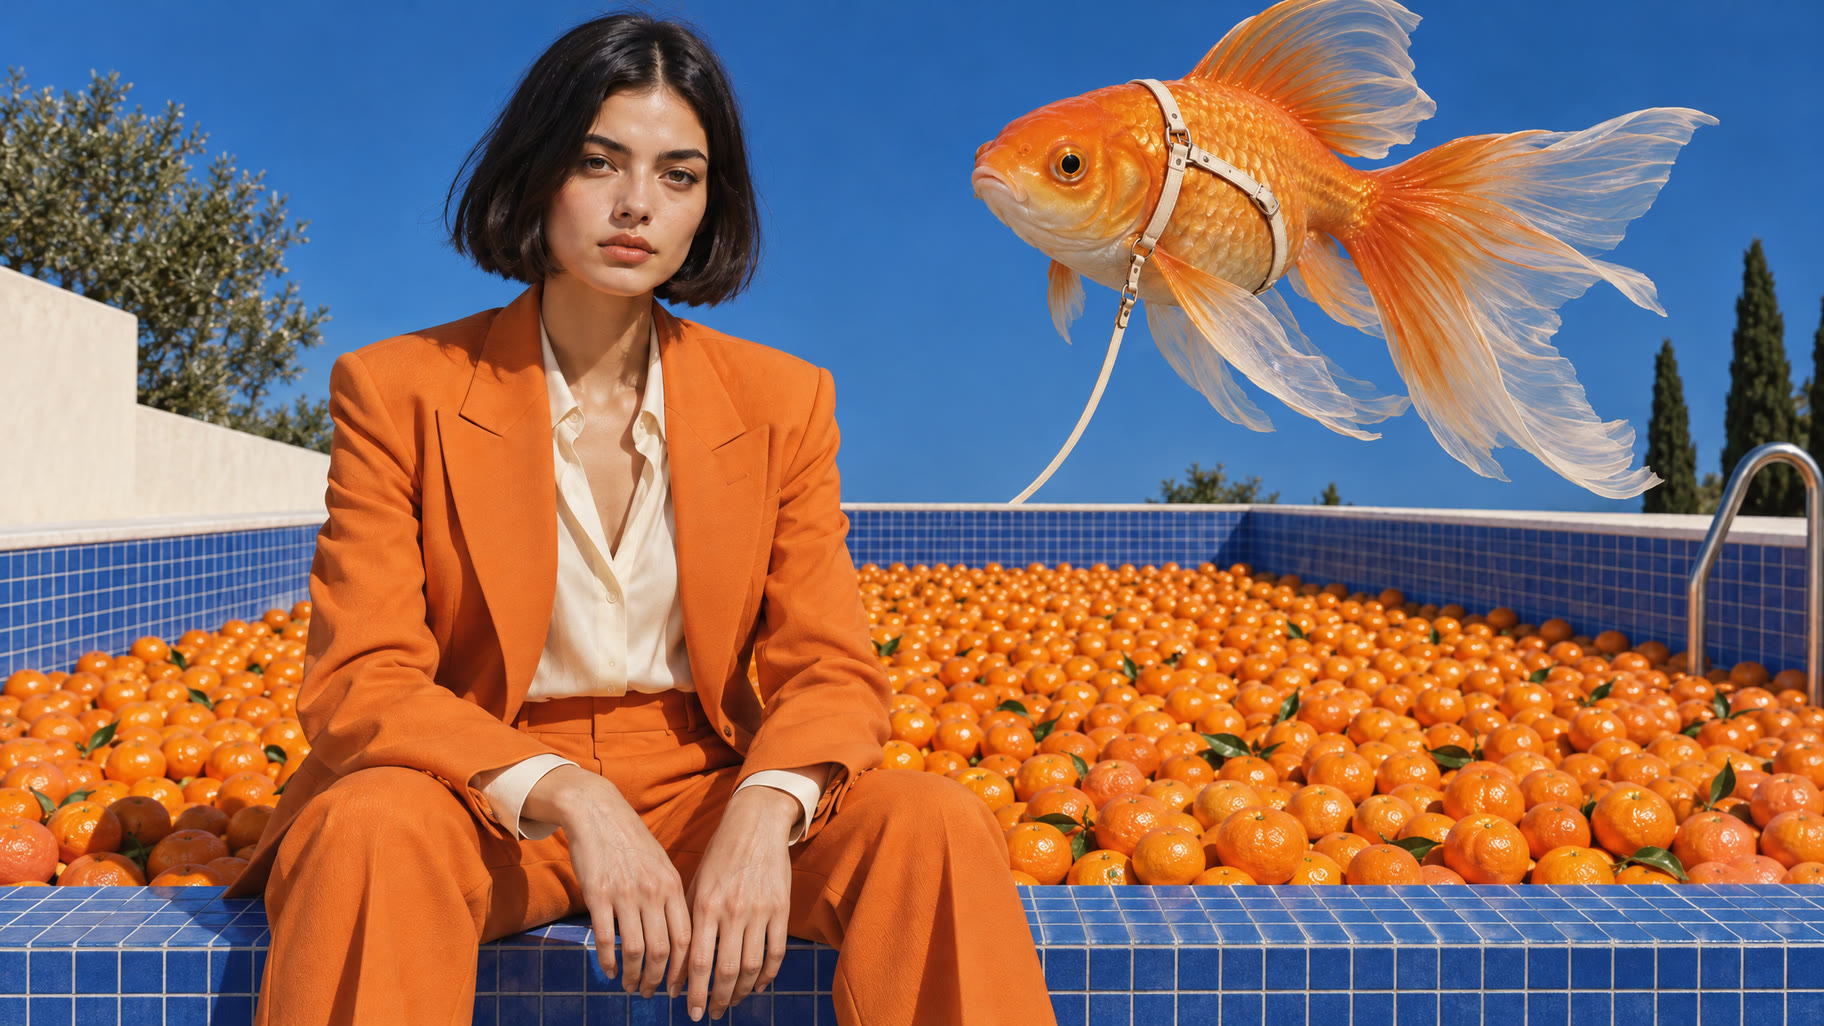 New scene
Image Editing with a reference · GPT Image 2.5 · same face, same suit, same goldfish
See the prompt
Use the woman from this photo: the same face, sleek black bob, tangerine-orange suit and cream silk blouse. Create a new photo of her in a new scene, medium shot from the waist up, her face large and in sharp focus, looking into the camera with the same calm deadpan expression. She sits upright on the edge of an empty outdoor swimming pool with cobalt-blue tiles, both hands resting naturally on her knees. Instead of water the pool is filled to the brim with thousands of mandarin oranges. The same giant goldfish in its cream leather harness floats in the air above the pool behind her. Hard midday sun, clear deep-blue sky, palette of cobalt, tangerine and cream, high-fashion magazine editorial photograph on medium format film.
Want to do this with a photo of yourself? Our Krea 2 identity edit tutorial shows how.
Animate an image into a video
What it is: the easiest way into video. The clip starts from an image you already like, so the character and the look are already right. Your prompt only describes what happens, what the camera does and what you hear. The sound is generated together with the picture.
The trick: give it an event, not just “she stands there”. The fish dives, the oranges explode, she catches one.
What we asked for
The goldfish dives into the pool behind her. Hundreds of oranges burst up in a huge fountain and rain down around her while she sits perfectly still. Without looking, she catches one orange in her hand, then looks into the lens. The camera slowly pushes in. Sound: a whoosh, the clatter of oranges on tiles, the soft slap of the orange in her palm.
Two more clips · clip 2: from the image in skill 1, the goldfish takes her for a walk · clip 3: from the night edit, the glowing fish rises away
Good to know: Text to Video makes a clip from words alone, with no starting image; try it once this feels easy.
Make music from a description
What it is: describe the genre, instruments, tempo and mood, and get a complete track. Add your own lyrics for vocals, or leave them out for an instrumental. We wanted a 1960s Italian film sound to match the look:

Text to Music · MiniMax Music 3 · 30 seconds
See the prompt
Chic 1960s Italian cinema lounge instrumental for a fashion film: walking upright bass, brushed jazz drums, Hammond organ melody, bright vibraphone, muted trumpet and light string stabs, playful and elegant, 118 BPM, D major, warm vintage tape sound with a clean modern mix
Upscale and put it all together
Upscale your favorite stills before you post or print them. There's no prompt: the image just gets bigger and sharper. Drag the slider:
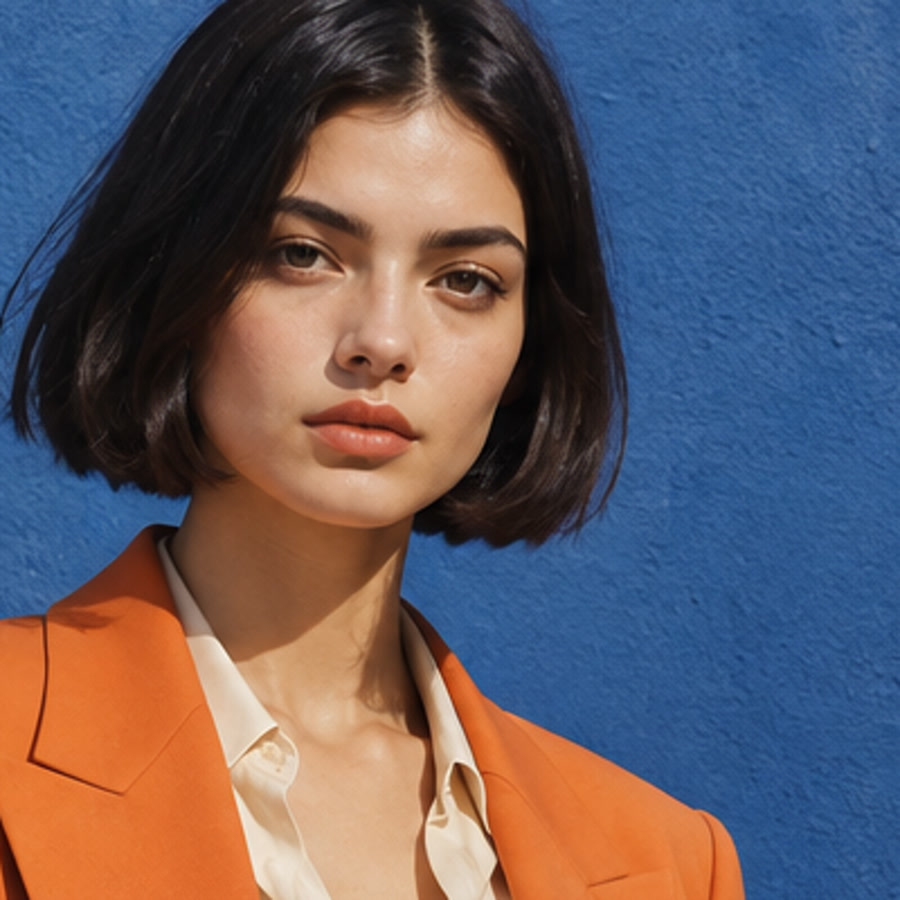
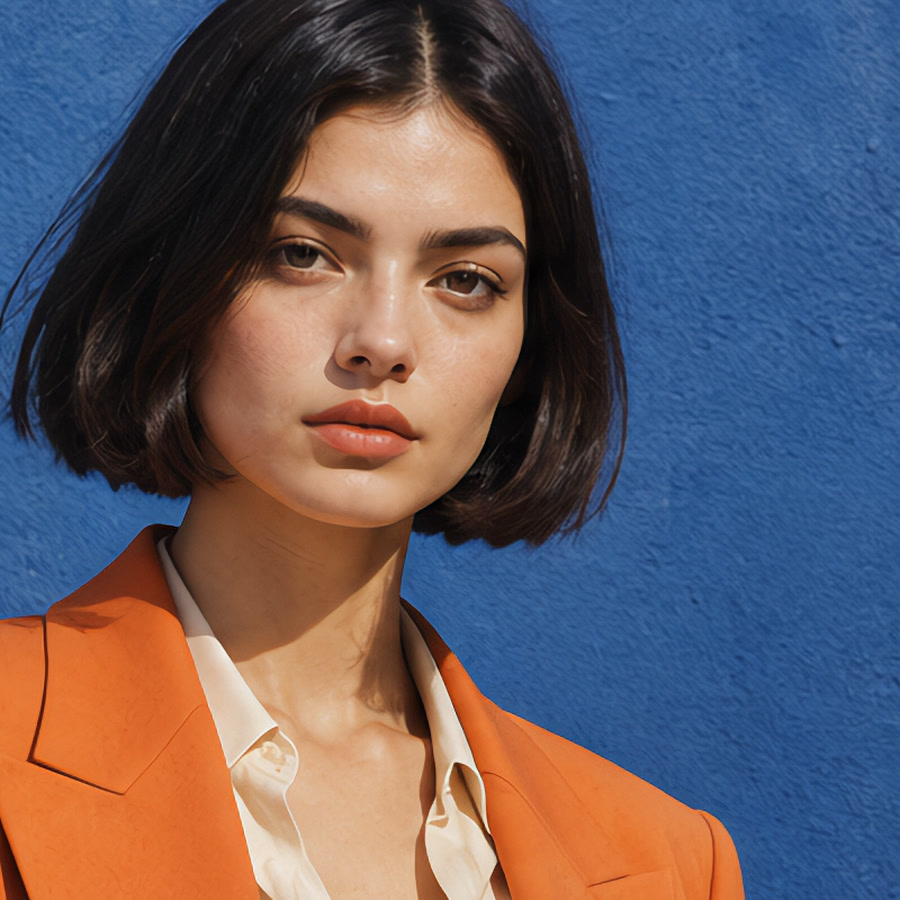 OriginalUpscaled
Upscale · RTX Video Super Resolution · a close-up of the image from skill 1
Then put the pieces together. Open Sogni Studio, the Mac app, and drop your clips into Mixer: it stitches them into one sequence automatically. Switch to Timeline to trim each clip on the beat and add your track. Our Starting & Ending Frames guide shows both. Not on a Mac? Download your clips and join them in any video editor. That's the film at the top of this page: three clips, one song, 20 seconds.
If it goes wrong
Everyone hits these in the first hour. None of them means you did something wrong.
| What happened | What to do |
|---|---|
| I got a different person in the new scene | Describing her again isn't enough. Upload the first image as a reference (skill 3). |
| Weird hands, extra fingers, odd eyes | Fix that one detail with Image Editing (skill 2), or run the prompt again on GPT Image 2.5. |
| My prompt was blocked | A word set off the safety filter, often one about clothing or the body. Reword it more neutrally and try again. |
| The result ignores half my prompt | Put the most important thing first and cut the rest to the five parts: who, doing what, where, light, kind of picture. |
| It's costing more than I expected | Test on Relaxed and Unlimited models, and make video only from an image you already love. |
How to write AI prompts for images
A prompt is the description you type. The easy formula has five parts, in this order:
who + doing what + where + light + kind of picture
You already used it in the quick start. One sentence with these five parts is enough to begin.
Want more control? Add detail to each part. Here is the full prompt behind the images in this guide, color-coded by the same five parts:
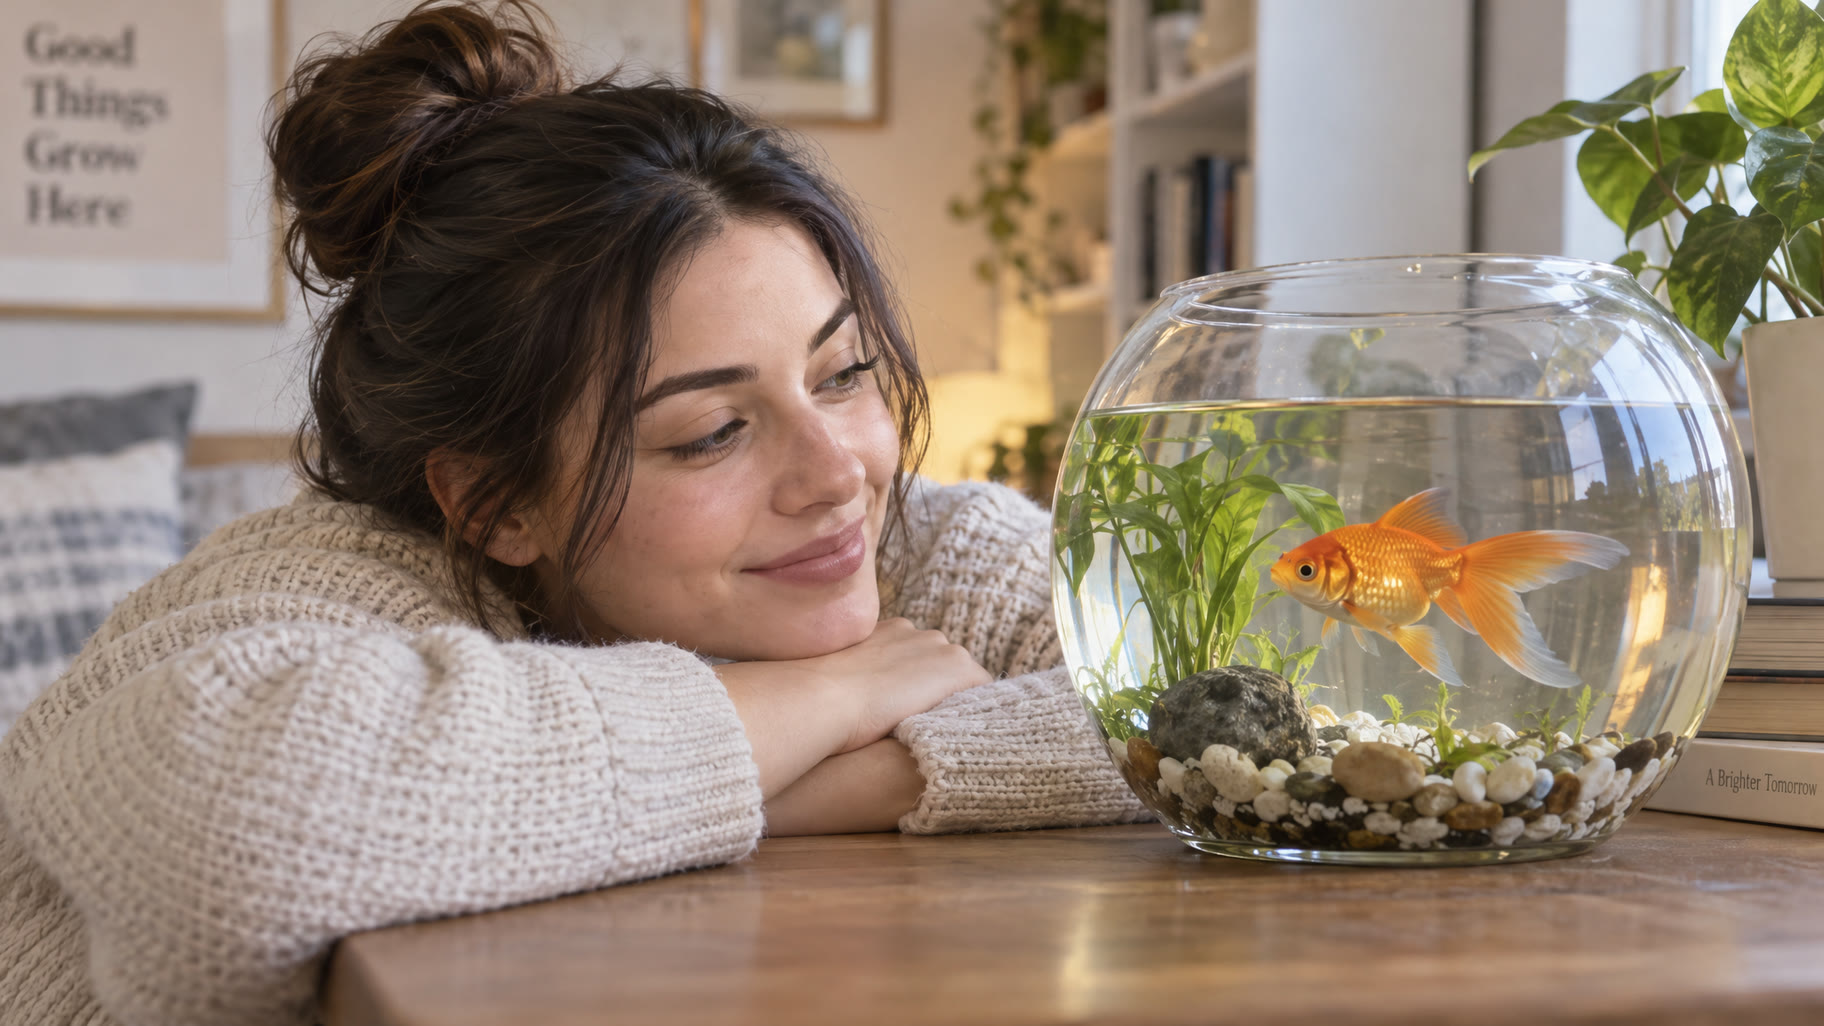 “a woman with a goldfish”The full prompt above
Same model, same seed. A short prompt lets the AI guess everything. A detailed one gets you the picture you had in mind.
How to make AI images look real, not “AI”
The plastic, too-perfect “AI look” usually comes from two things: the wrong model and a vague prompt.
Pick a realistic model (see Best models for realistic people), then fix the prompt:
Name a real camera look
“Shot on film”, “phone photo”, “85mm lens” or “magazine editorial” tells the AI what kind of photo to imitate.
Describe real light
“Hard midday sun” or “window light on a cloudy day” beats “beautiful lighting”. Real light has a direction and shadows.
Ask for texture
“Natural skin texture”, “fabric creases”, “scuffed wall”. Perfection looks fake; small details look real.
Skip the magic words
“Masterpiece, 8K, ultra detailed, hyperrealistic” often makes it look more artificial. Describe the scene instead.
Check hands and eyes
Zoom in before you use an image. If something is off, fix it with Image Editing or switch to a stronger model.
Upscale without repainting
Use RTX Video Super Resolution to enlarge. It sharpens without inventing a new face.
Which AI model should I use?
Every tool lets you pick a model, the AI engine that does the work. Models differ in speed, price and what they're good at. You don't need to learn them all. Start with the first model in each row and switch only if the result isn't good enough.
The most reliable for real-looking people: natural skin, correct hands, readable text. The images in the six skills were made with it.
A natural photo look out of the box, and cheap enough to try an idea many times before a final render.
Keeps a real face, yours included, while you change the outfit, place or style.
For realistic video. MiniMax H3 (Unlimited) is the everyday choice and keeps the look of your image.
Test your idea on the default model. If faces, hands or text keep coming out wrong, switch to a stronger model for the final version. To see the difference before you choose, click Compare another model under the model picker: it runs the same prompt on two models side by side.
Other basics worth knowing
Under the prompt box you'll find a few settings. Here is what each one means, so nothing on the screen is a mystery:
How many images one click makes (1 to 16). Start with 4: you get four takes and pick the best.
The shape of the picture. Square 1:1 is the default, 16:9 is wide (YouTube, covers), 9:16 is tall (Reels, TikTok, Stories). Choose it before you generate, because video keeps the same shape.
Random gives a new picture every time. Locked keeps the seed, so you can change one word in the prompt and see only what that word does.
A ready-made look (anime, film photo, Art Deco and 130+ more) added to your prompt in one click. You can see and edit the words it adds.
The credits you pay with. The exact cost is shown before you click, and new accounts get free Spark. Premium models use Premium Spark, bought with a card.
Two speeds for the same quality. Relaxed waits for a free GPU and costs about half. Fast skips the queue. Experiment on Relaxed, render the final on Fast.
A subscription that covers Supernet models under fair use, so you can experiment without counting Spark. There's a free 3-day trial.
Everything else (steps, guidance, samplers) has good defaults. Leave it alone until you're comfortable.
Six beginner tips
Image first, video second
Video takes longer and costs more. Get an image you love, then animate it.
Change one thing at a time
Change five words at once and you won't know which one made the difference.
Fix it, don't restart
One detail wrong? Change it with Image Editing, one sentence at a time, as shown in skill 2.
Square or tall? Decide first
Pick the image size before you generate. A video made from your image keeps its shape.
Experiment cheap, finish strong
Test ideas on Relaxed and the default model. Switch to Fast or a premium model only for the final version.
Borrow good prompts
The community gallery shows the prompt behind each creation. Copy one and make it yours.
Beginner questions
Can I make AI images for free?
Yes. New Sogni accounts get free Spark (credits) to start with, and there's a free 3-day Unlimited trial. Sogni Vibe also has a guest mode with no account.
What is the best AI image generator for beginners?
For most beginners: Sogni Create with its default model, Krea 2 Turbo. It runs in your browser, has every tool in one place and costs about a cent per image. Switch to GPT Image 2.5 when you need perfect hands or text.
How do I make AI images of myself?
Upload a clear photo of your face in Image Editing, pick Krea 2 Identity Edit or GPT Image 2.5, and describe the new scene. Skill 3 shows how, and our identity edit tutorial goes deeper.
How do I make an AI video from a photo?
Open Image to Video, upload the photo and describe what happens, what the camera does and what you hear. The clip starts from your photo and comes with sound. See skill 4.
How do I make AI images look less like AI?
Name a camera look, describe real light, ask for natural texture and skip words like "8K masterpiece". The section How to make AI images look real has six fixes.
Do I need a good computer?
No. The work runs on the Sogni Supernet, a network of powerful graphics cards (GPUs), not on your device. Any computer, Chromebook or phone with a browser works.
What is Spark?
The credits you spend on generations. One Spark is half a cent ($0.005): a Krea 2 Turbo image costs about 2.4 Spark and an 8-second MiniMax H3 clip about 32 Spark. Every tool shows the exact cost before you click.
Is there a phone or Mac app?
Yes: Sogni Pocket for iPhone and iPad and Sogni Studio for Mac, with the same account and Spark. Your First Steps with Sogni tours every app and button.
Start with one image.
Copy the quick-start prompt, swap the goldfish for your own impossible idea and click Imagine.